Production Log
Week 1 - Research Ideas
I had different ideas on what to do, many ideas on what a robot will look like but I tried going for a simple but catchy robot with basic features I didn't try and make it look too complicated. I did some research on what my robot influenced me on the features about it on how interesting the concept art is.
These are the robots images that I took to show what inspirited me by making that type of character:
These are the robots images that I took to show what inspirited me by making that type of character:

These robots helped me to make my own idea on what my robot will look like and the creativity that I found was more of a helper with a sidekick robot similar within these pictures. With that, that led me on making a mind map on what the aspects of my character will have and looks etc..

Week 2 - Designing
For the second week I had to choose on which drawing of the sidekick I want then I chose my second one because of it, it really stood out well making him a servant and helper by making him look like more of a sidekick. My second and final design was mix between iron man and eve from wall-e I had the body and looks from eve then eyes from iron man. I mixed both of them together and though it would look something different.


Week 3 & 4 - Modeler Design & Presentation
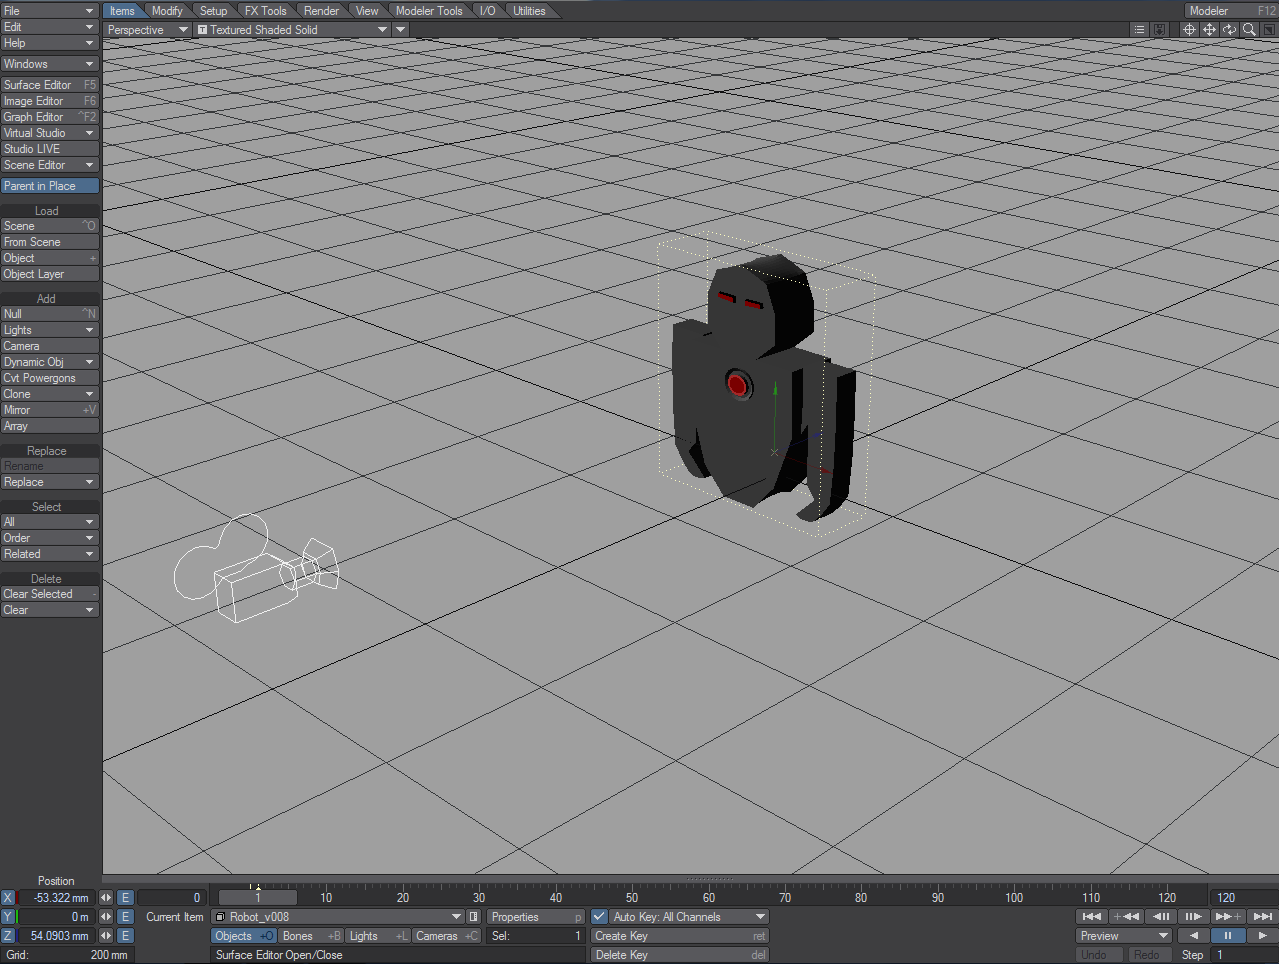
Then on modeler I manage to make it using basic tools with basic shapes to make the side kick that I wanted on light wave by adding each detail and also adding new features like the chest piece for my character on modeler.


Then I finished my design on modeler I finish initiating it and seeing if I missed anything out, overall I thought I did okay with the drawings and making of the robot, I was happy with the design on the outcome on what it looks like I think it looks really good I could have improved it by taking my time and not rushing it also making it more depth and detailed, I was a bit disappointed but in the end I was left with a finish design on my side kick robot.
Then I took some images using the software light wave then I used the pre-rendered background that I got from moodle, I also loaded my sidekick robot to a rendered scene.
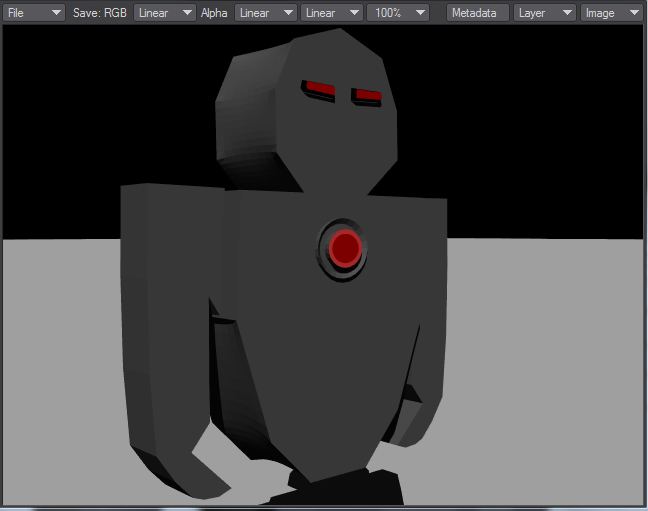
After that I had to select surface editor so I could change some aspects on what my sidekick might look like, I tested out with some different colours and I had to choose which one will stand out and look better so I ended up with this.


Then I set up a camera position using the timeline, each time I move the timeline the position of the camera changes on where I set the camera.

After all that I just press F9 to show the rendered image with a finished product.
Week 5 - Review
On this week I was spending my time writing my review that I talked about the things that I could have done better and improved on in my timeline, my finished sidekick robot overall on all the process of making the robot I found it okay and enjoy making it and felt good with my finished product.
No comments:
Post a Comment